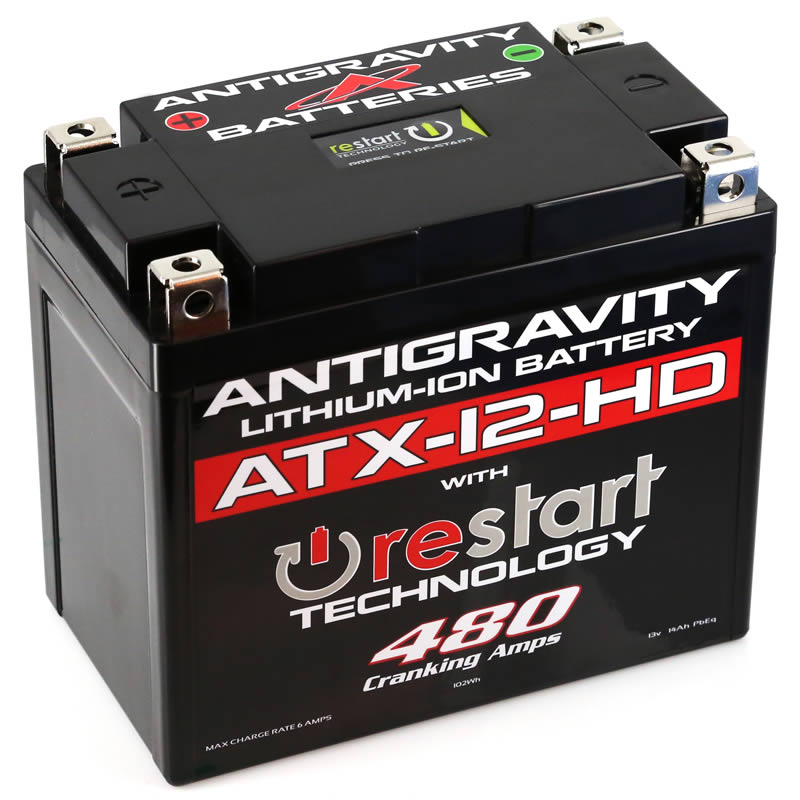
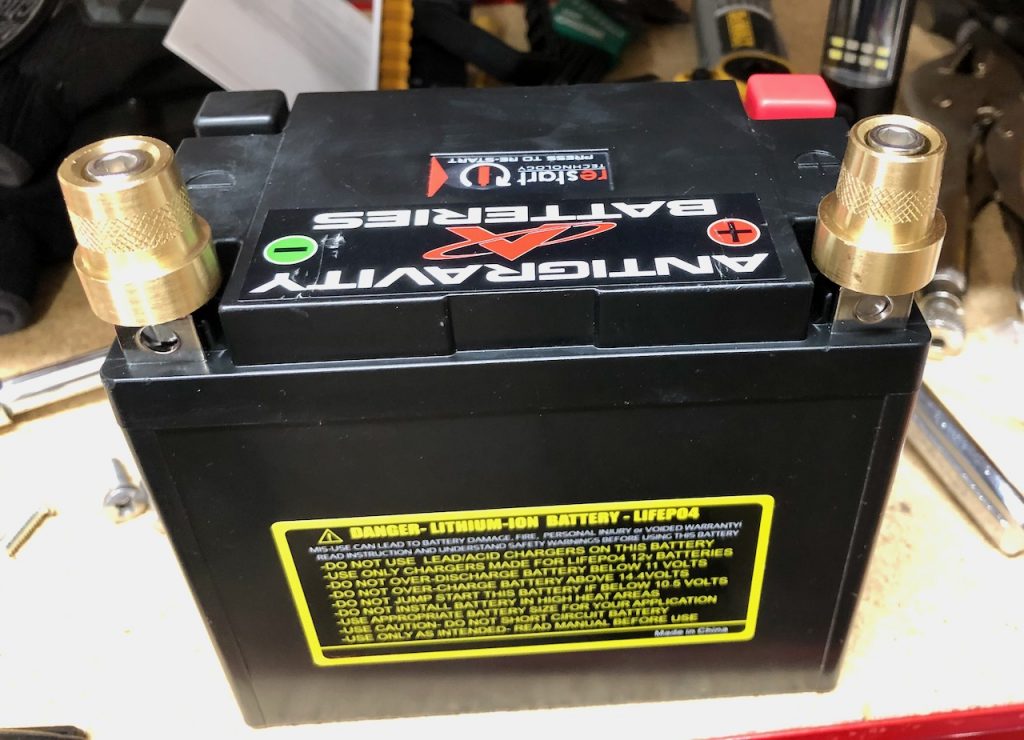
I replaced my OEM battery with an AntiGravity ATX12-HD RE-START Battery and quickly shed 21 pounds from the front of my car. The size and weight of the battery were shocking when I saw it for the first time. The OEM battery measures 9 x 5 x 8 inches and weighs 24.4 pounds. The AntiGravity ATX12-HD is a Lithium battery with these specs:
Measures 5.9L x 3.38W x 5.19H inches (that’s tiny)
3.25 pounds including the terminal posts I added
480 cranking amps
16 Amp Hours (PbEq)/ 8Ah (Actual)
Restart feature to start the car if the battery runs down
Battery Management System (BMS) that includes low-voltage cut-off, over-discharge, over-charge, and thermal protections with real time lithium-ion cell balancing
Post It Up
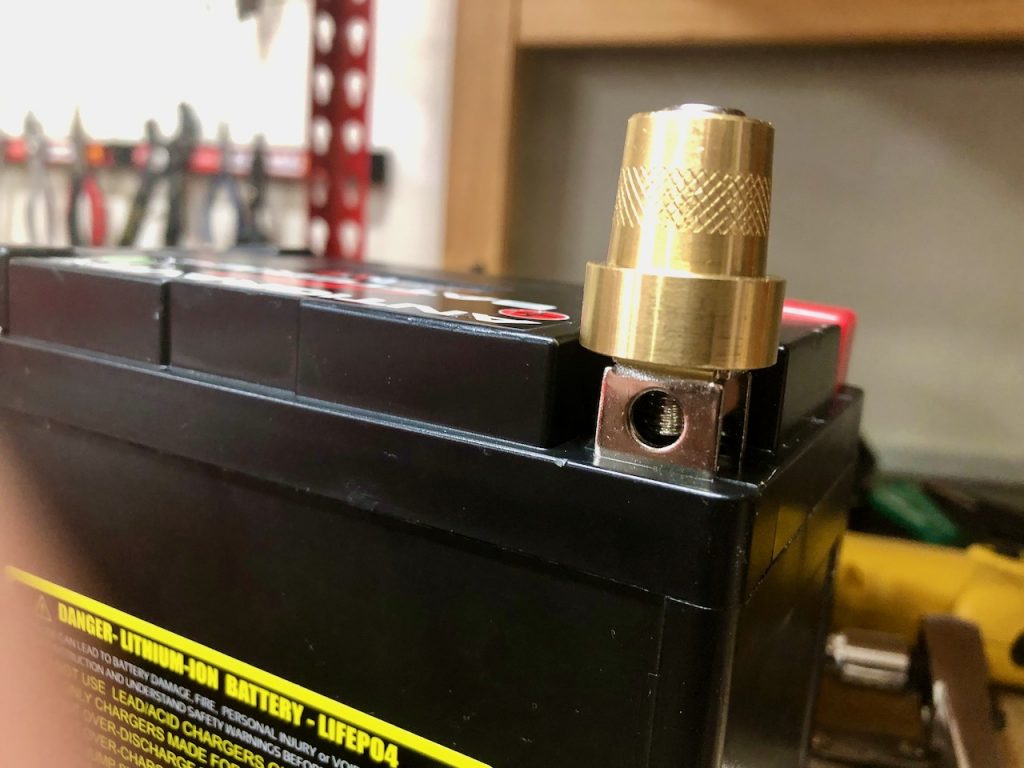
The first hurdle, I needed to figure out a way to attach the existing cables to the new battery. It comes with “flag” style connections. No posts anywhere. I’ve seen others kludge connections to their flag connection by cutting the OEM connector in half and bolting that to the battery. It looks horrible to me and I figured there must be another way. And there is. The XS Power Batteries 586 Tall Brass Post Adaptor Set looked like it would work. These are posts used on another type of battery connection but I thought they’d work in this application as well.
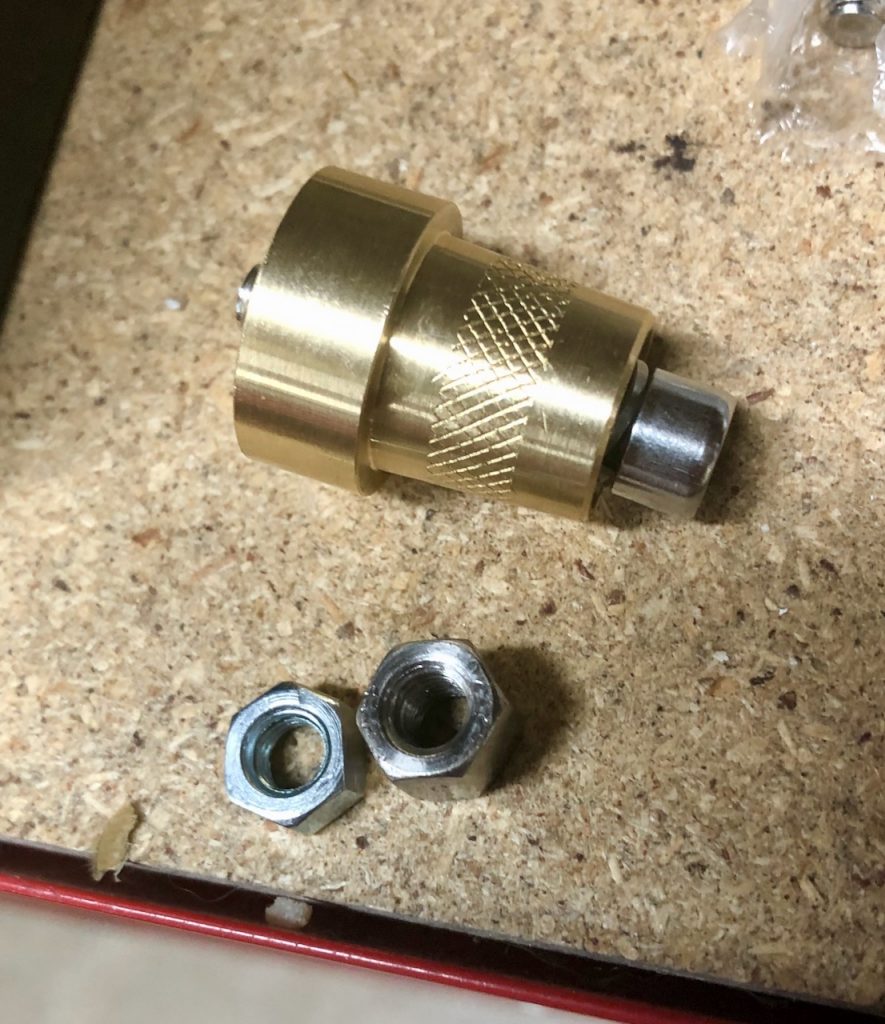
The kit comes with brass posts and an M6 bolt for each post. The positive post is slightly larger than the negative post. It doesn’t come with nuts (because it isn’t made for this application) so I dug around in my bolt bin and found a couple of M6 nuts. They didn’t fit inside the flag housing, so I filed them down a bit.
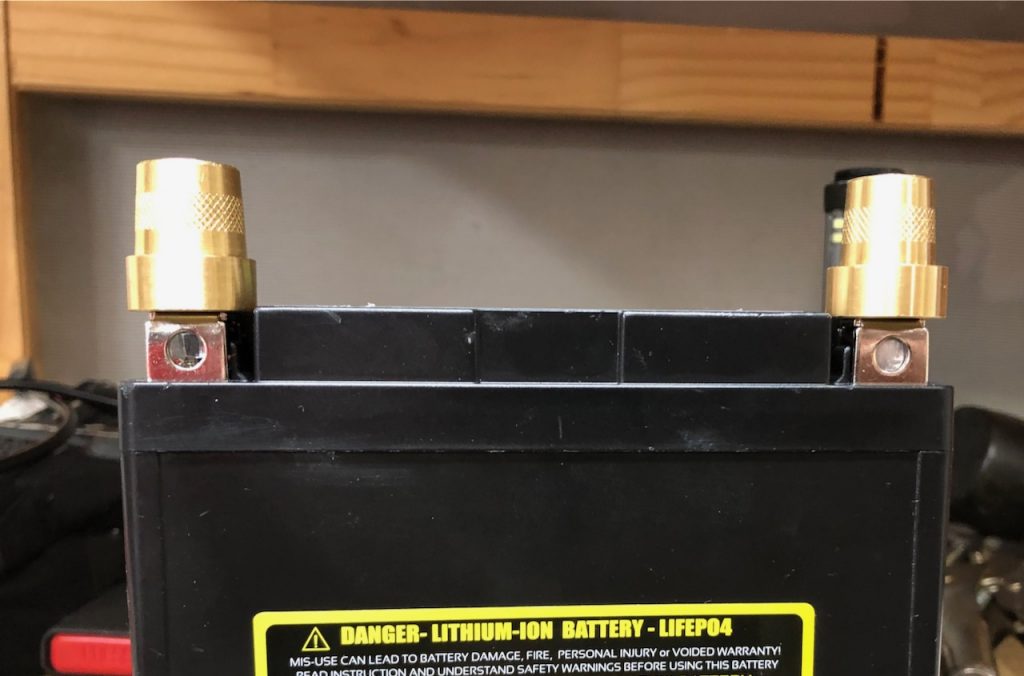
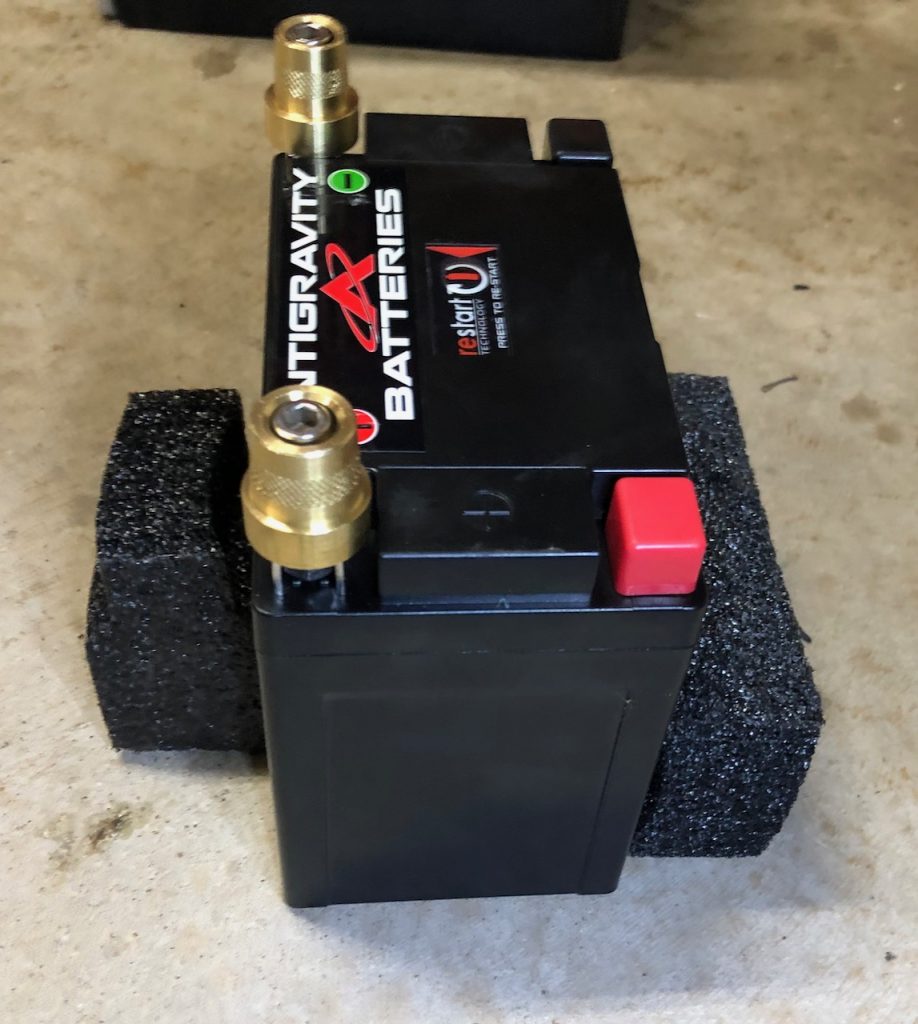
Now it was simple to slide each nut under the flag housing and attach the posts. Because the posts are different in size, remember to attach the negative post to the negative side and the same for the positive side. I didn’t, which you can see in my photos below. No worries. A quick swap and everything was right with the world again. It looks like a regular battery now…although tiny.
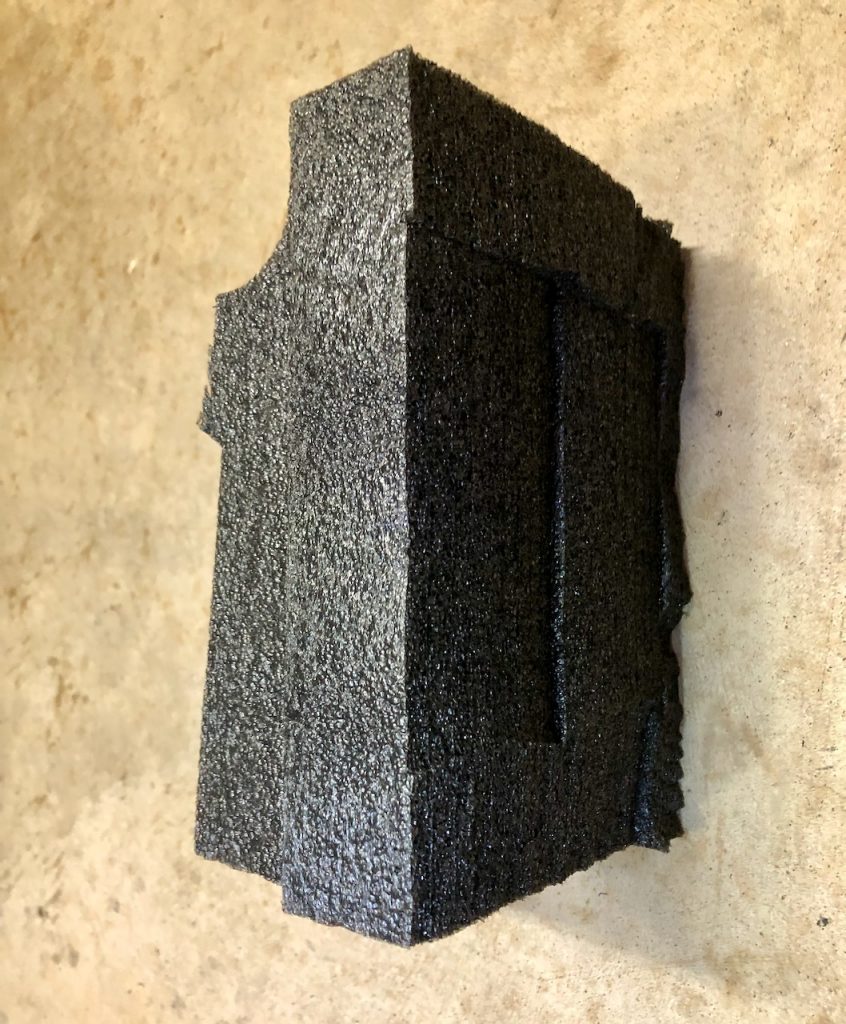
Filling the Void
With the posts installed, the battery was ready to go in the car. I hefted the 24 lb. battery out and set the new one in place. Wow, it obviously wasn’t going to work like that. I needed to add something under the battery to raise it about 3 inches and also fill in the width void. Some high-density foam I saved would work quite well. I’d use a couple of large pieces for underneath the battery in the existing tray and cut some other pieces for both sides. Note the correct orientation of the terminal posts.
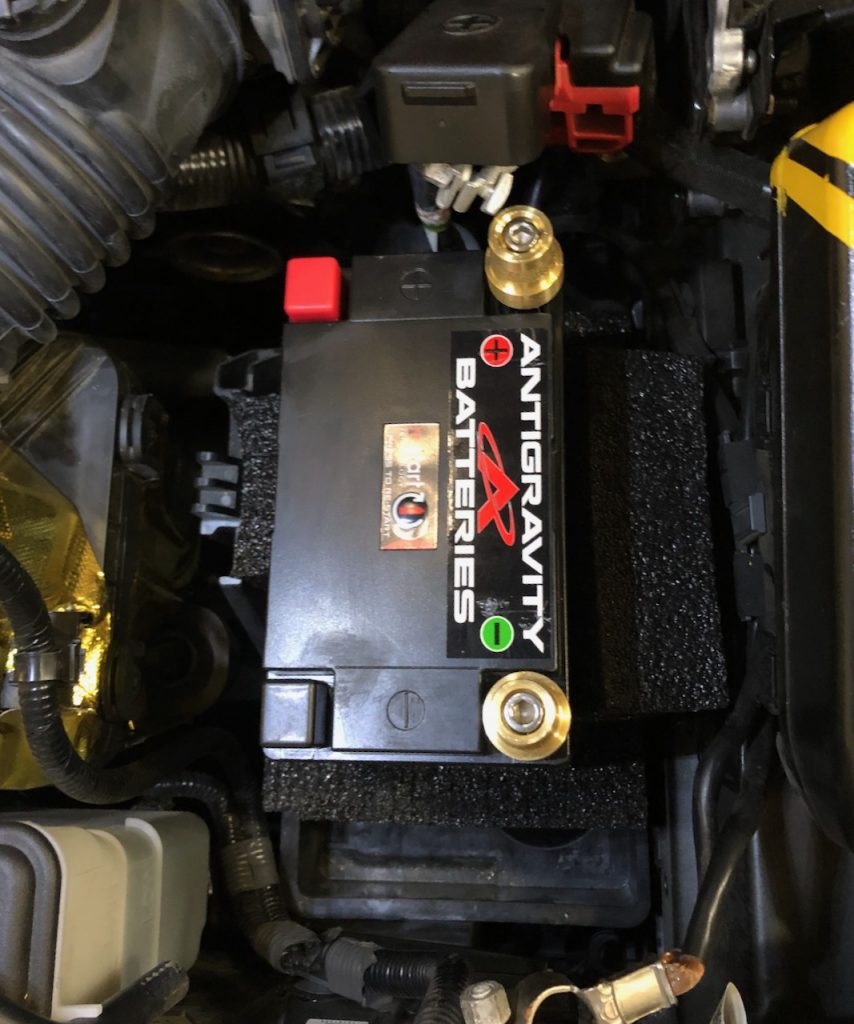
Into place it went and it fit perfectly. I left the foam a bit thick so it would have some tension when it was battened down.
That’s an Itty Bitty Battery
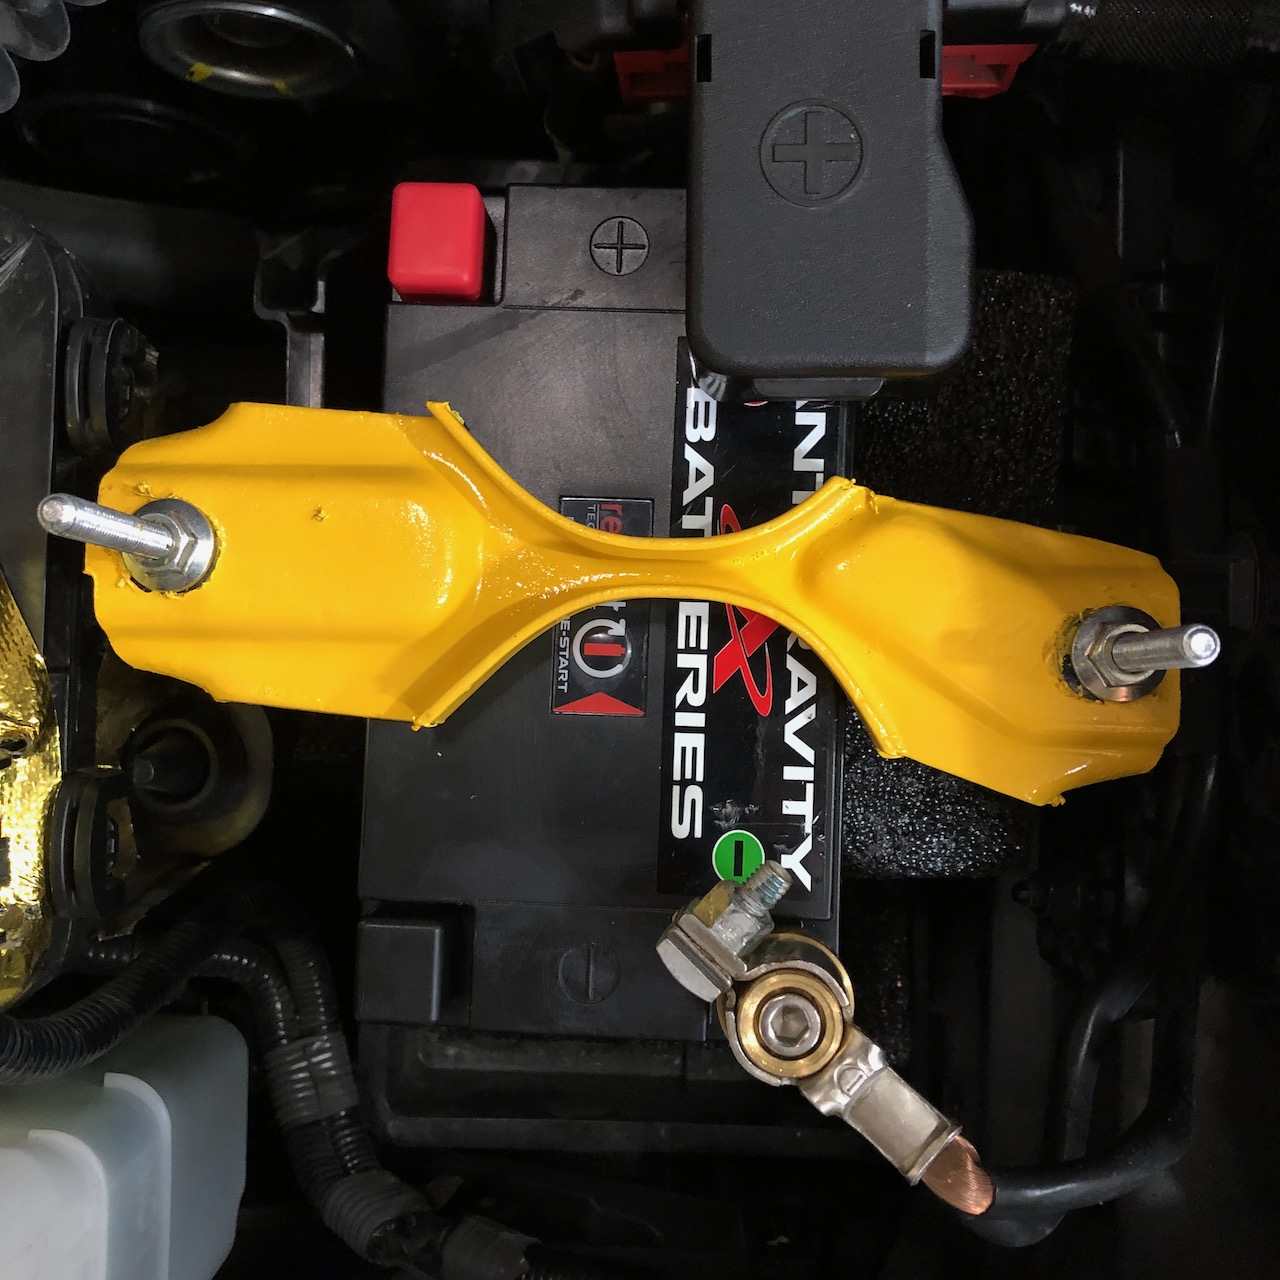
Next up, resize the original battery hold down. I cut off the side wings. The goal was to make sure it couldn’t accidentally short across it. I also coated it in PlastiDip to add some insulation. It should also make it grippier, just a bit more insurance to keep the tiny battery from moving about. I put it in place and fastened it down good and tight.
Then it was time to attach the post terminals. Placed the positive cable and it was perfect. Nice and tight. I went to attach the negative cable and, damn, it wouldn’t tighten down enough. Negative post sizing is standardized in cars. I measured the post on the OEM battery and it was the same size as the new post I bought. Looking at the terminal at the end of the battery cable, it looked like I could make a few adjustments. I took the terminal bolt out of the cable side, bent things up a bit, put it back on and it fit nice and tight. The battery is pretty tiny in the massive hole but it almost looks like it was made to be there. And I lost 21 pounds!
I do want to find something more solid, about 3 inches tall, to replace the foam under the battery. It’s in there nice and tight now but I’d rather have something solid under it. I just don’t know if the foam might get used to the compression over time and I’ll lose the tension it has now. But for now, this will work great.
I did exactly this. How have you found it? I had the battery die on me at the end of the trackday and had to bump start the car to get home. Seems like it wasn’t charging well when hot.
KentBigDog
August 26, 2021 at 8:08 am
No issues in 100° weather so far. I do have the hood vents which keep my engine bay significantly cooler. According to the AntiGravity folks, if it gets too hot it will shutdown. They say as soon as it cools enough, the restart button can be pressed to restart. But again, it hasn’t happened to me in the Texas heat.

inittab
It’s been awhile since your post on this, how has this kept up for you? looking to do the same on my nc
Kent
No issues at all. Took the car on a 4-day trip recently and it did just fine.
less is more
I did exactly this. How have you found it? I had the battery die on me at the end of the trackday and had to bump start the car to get home. Seems like it wasn’t charging well when hot.
KentBigDog
No issues in 100° weather so far. I do have the hood vents which keep my engine bay significantly cooler. According to the AntiGravity folks, if it gets too hot it will shutdown. They say as soon as it cools enough, the restart button can be pressed to restart. But again, it hasn’t happened to me in the Texas heat.